This is the last of three articles about emu_x86. Part 1 shows how to use it and Part 2 covers the tools. Here I describe how it works inside, and the bugs that taught me the most.

The two PCs

IBM PC/XT386 PC
CPUIntel 8088, 4.77 MHz386 (also 486, Pentium or Pentium II)
FirmwareGLaBIOSSeaBIOS and SeaVGABIOS
VideoMDA and CGAVGA with VESA modes up to 1600x1200
SoundPC speakerPC speaker, Sound Blaster 16 with FM
DisksFloppies, a hard disk, a CD-ROMFloppies, an IDE hard disk, a bootable CD-ROM
NetworkNE1000RTL8029 or NE2000
RAM640 KB16 MB by default, up to 512 MB in the page

One core, two hosts

The emulator core is portable C with no calls to the operating system. That is what lets the same code run in two places: in the browser, compiled to WebAssembly with Emscripten, with a page of plain HTML and ES modules around it, and on Linux, as command line programs and a native SDL2 window.
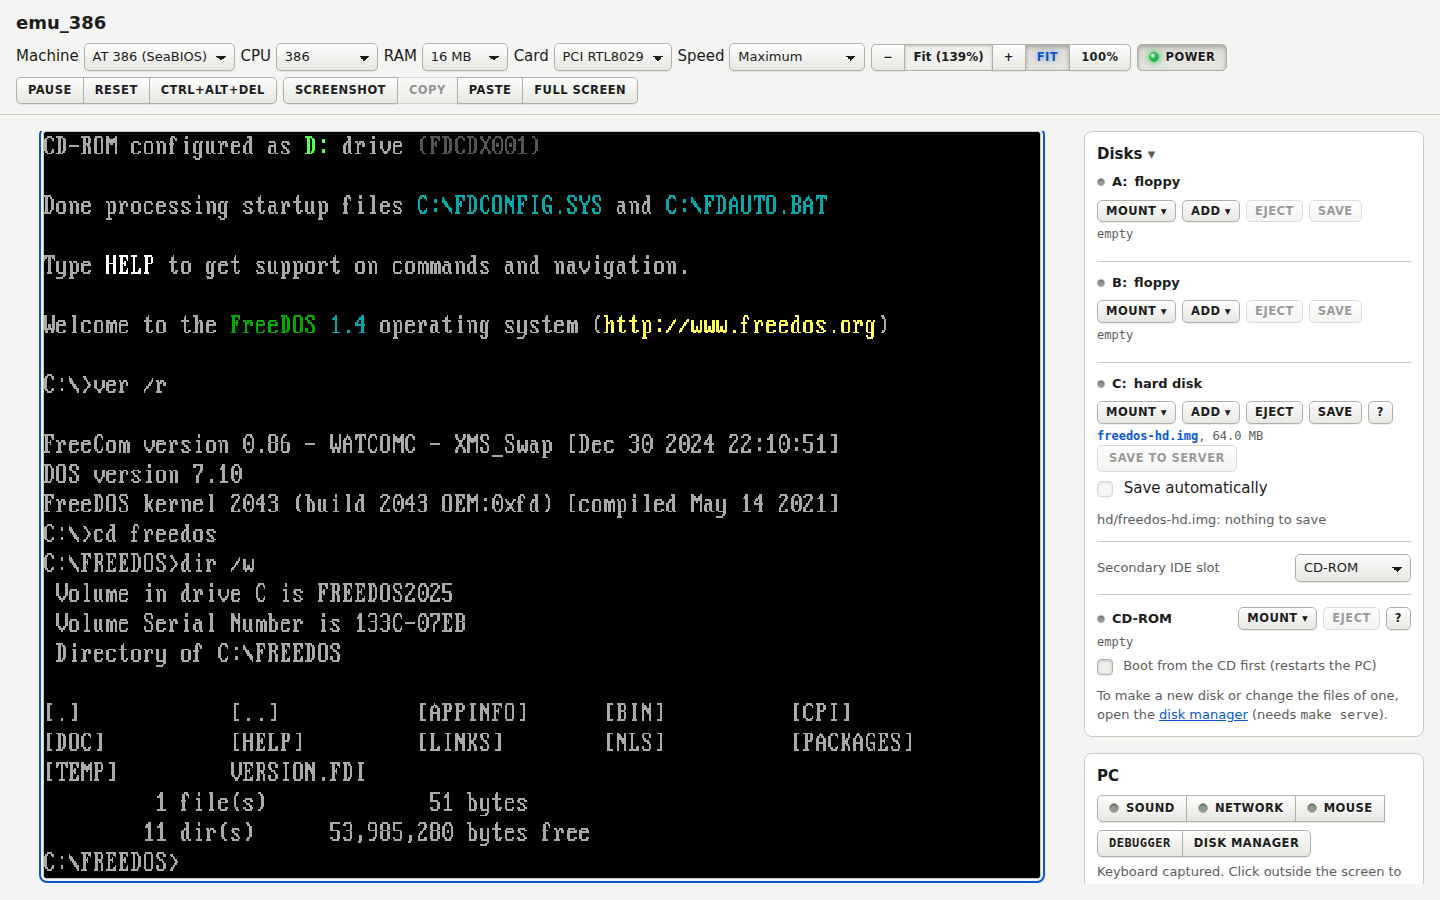
I have just finished a new project: emu_x86, an emulator of two classic PCs: an IBM PC/XT (Intel 8088) and a 386 PC (it can also be a 486, a Pentium or a Pentium II). The same C code runs in a web page, compiled to WebAssembly, and on Linux. So you can open a link and have a DOS computer on the screen. Nothing is installed on your computer.

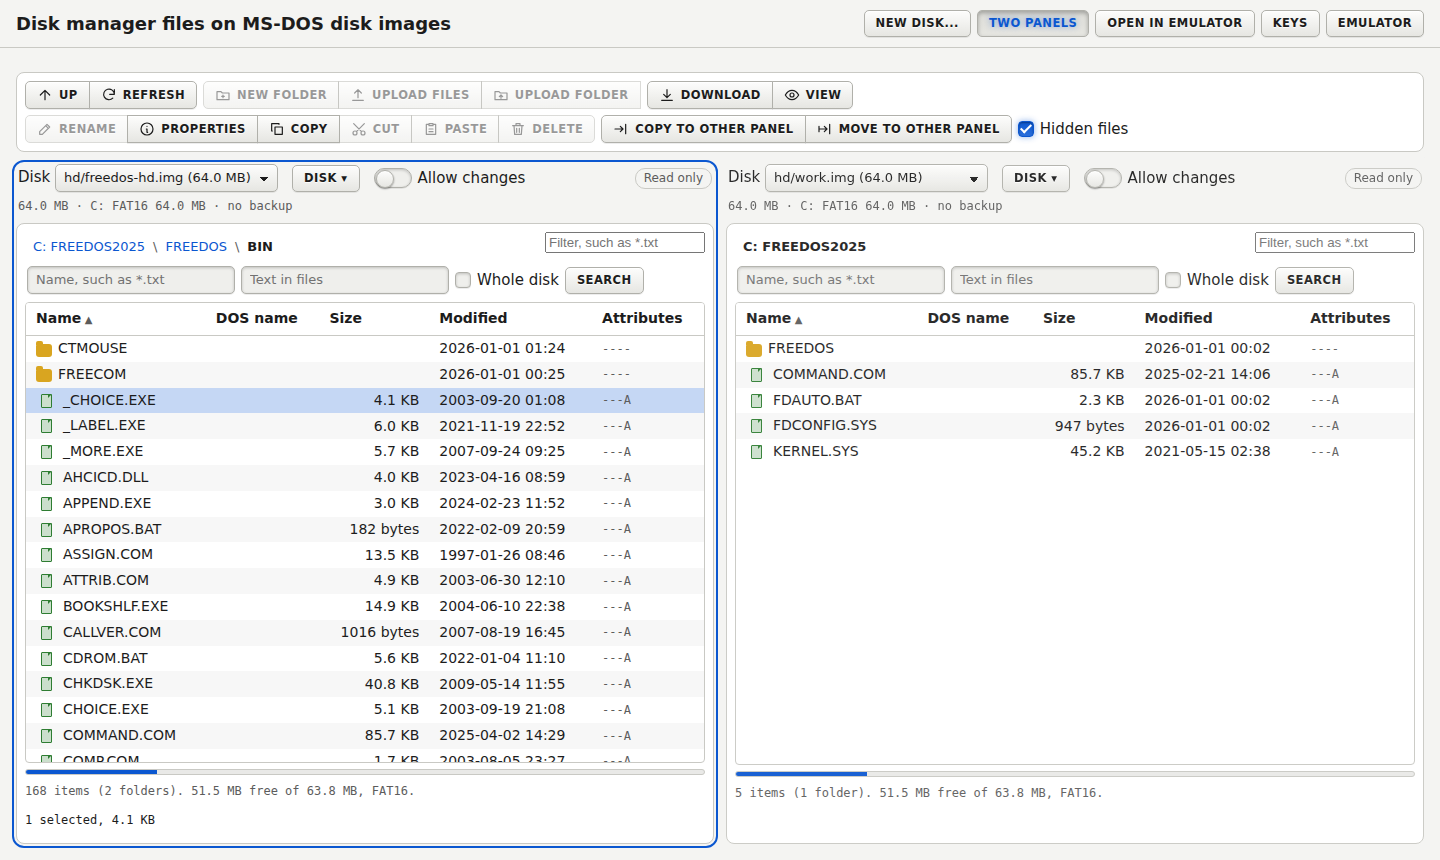
This continues emu_x86 Part 1, which showed how to use the emulator page. An emulator alone is not enough to work with old software. You need to get files in and out of the disk images, to look inside a program that crashes, to put the PC on a network, and to run things without clicking. This part covers the tools I built for that. The disk manager, the network and emuctl need emu_x86 on your own computer: the online demo has none of them.

Old DOS Days 1

- 3 mins read

Old DOS Days 1

I’m working on an emulator for old dos systems, trying to let an agent play with it. Maybe let it finish some projects that I started back in the day.

By the way, I have reviewed some of my old DOS CLIPPER projects; The disk was not in very good condition, and many files were corrupted or unreadable but I was able to recover a few of them and it brought back a lot of memories.

A small change to an SGI workstation

I changed the indicator LEDs in my SGI Octane’s light bar. I chose blue LEDs and added two resistors to keep their current within a safe range.

The light bar is a narrow assembly in the front of the case. Its lights make the computer’s status visible from the outside. I wanted to replace the dead lights and give them a blue glow.

A restoration that took more than a year

I bought this NorthStar Advantage on Wallapop in 2024. The seller told me that the keyboard had a fault. But at power-on, the computer still displayed a message on the screen. As always trust in the seller’s words, was an act of faith.

Indeed, buying vintage computers is always a bit of a gamble but be prepared for surprises when dealing with vintage hardware.

Looking more closely at the drives

This continues NorthStar Advantage Restoration Part 1, with a closer look at the drive hardware and how floppy disks mark sectors.

Many computers from the late 1970s and early 1980s used 5¼-inch floppy drives. The Tandon TM100-2A is one example. These drives can become difficult to use as they age. Their radial alignment—the position of the read/write head across the disk’s tracks—can shift. If it moves far enough, the drive may not read or write disks reliably.

This continues NorthStar Advantage Restoration Part 2. This time, I focus on replacing the keyboard’s foam pads.

I had to wait three months for the replacement foam-and-foil pads to arrive. The first package was lost in transit, so I had to reorder them, which added to the delay.

Once they were in hand, I could proceed with the restoration work on the keyboard.

The replacement pads

There are not many places that sell these specific foam-and-foil pads, so finding a reliable source is important.

This continues NorthStar Advantage Restoration Part 3. This time, I am making 5¼-inch drive cases and fitting Gotek replacements.

Making a case for the drive bays

The NorthStar Advantage has two drive bays, and I want to use them with a Gotek floppy-drive emulator. A Gotek is a device that can stand in for a floppy disk drive. It uses a USB flash drive to provide disk images instead of physical floppy disks using a USB stick.

Bringing a QVT terminal to life on Linux over USB serial

Vintage serial terminals are simple when everything matches, and maddening when one setting is off by a single bit.

Recently, I got a Qume QVT-119 Plus terminal working as a serial console on Linux. The terminal is connected to a Raspberry Pi via a USB-to-serial adapter, and the Pi is running agetty to present a login prompt on the terminal.